How to Install a Chimney Liner ? To install a chimney liner, start by measuring your chimney’s dimensions to determine the appropriate liner size. Then, assemble the necessary tools and materials, including the liner kit, connector, and insulation if required. Safely access the chimney’s flue, either from the top or bottom, and secure the liner to the connector.
Lower the liner into the chimney, ensuring it extends beyond the top by a few feet. Seal the liner’s connections with high-temperature silicone or tape. If needed, insulate the liner to improve draft and reduce condensation. Finally, connect the liner to your heating appliance and test for proper ventilation. It’s essential to follow manufacturer instructions and, if uncertain, consult a professional for a safe and effective installation.
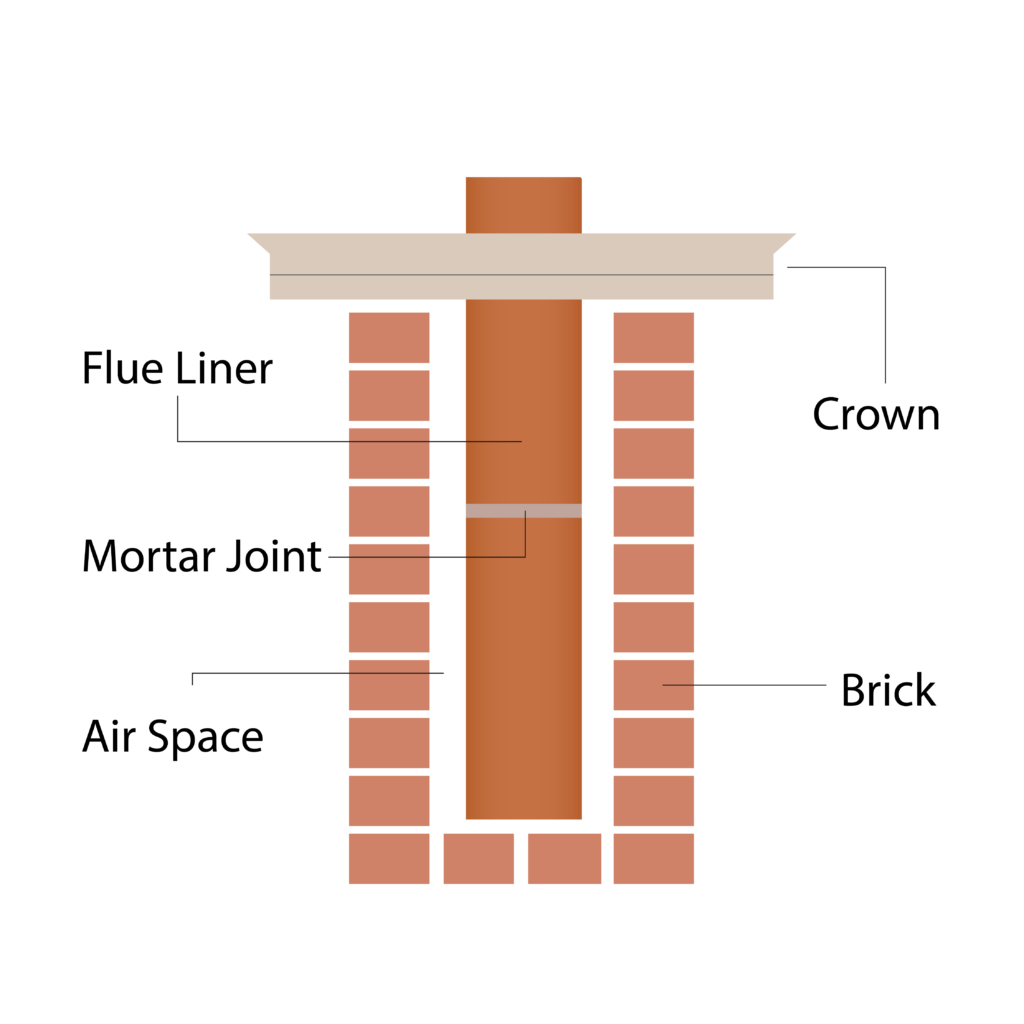
What is a Chimney Liner?
A chimney liner, also known as a flue liner, is a protective barrier installed inside a chimney to channel harmful combustion gases, such as carbon monoxide, out of your home safely. It also helps protect your chimney’s structural integrity by preventing corrosive gases and byproducts from damaging the masonry.
Do I need a Chimney Liner?
Whether or not you need a chimney liner depends on several factors:
1. Appliance Type:
The type of heating appliance you have is a critical factor in determining whether you need a chimney liner:
- Wood-Burning Stove or Fireplace: If you have a wood-burning stove or fireplace, a chimney liner is highly recommended. Wood fires produce creosote, a highly flammable substance that can accumulate in your chimney. A liner helps contain creosote buildup and prevents it from seeping into the chimney walls, reducing the risk of chimney fires.
- Gas Furnace or Other Heating Appliance: Gas furnaces and other heating appliances also benefit from chimney liners. While gas produces fewer creosote issues compared to wood, a liner ensures the safe passage of combustion gases like carbon monoxide out of your home. It also helps maintain proper drafts, allowing these appliances to operate efficiently and safely.
2. Local Codes:
Local building codes and regulations play a significant role in whether or not you need a chimney liner. Many areas now require the installation of chimney liners to enhance safety and performance. These codes are typically in place to protect homeowners from potential fire hazards and ensure that heating systems operate efficiently. It’s essential to check with your local authorities or consult a chimney professional to understand the specific requirements in your area.
3. Chimney Condition:
The condition of your chimney is another crucial factor to consider:
- Damaged or Deteriorating Chimney: If your chimney has visible cracks, loose bricks, or deteriorating mortar joints, it’s a strong indicator that you need a chimney liner. A damaged chimney can allow combustion gases to escape into your home, posing health risks. A liner not only contains these gases but also helps protect your chimney’s structural integrity.
- Lack of Existing Liner: If your chimney does not have an existing liner, it’s highly recommended to install one. Older homes may not have liners, and in such cases, adding one can significantly improve safety and efficiency.
4. Improved Efficiency:
Even if not mandated by local codes or dictated by your appliance type, installing a chimney liner can be a smart choice for improving the efficiency of your heating system. Here’s how:
- Better Draft: An appropriately sized and installed chimney liner can improve the draft, ensuring that combustion gases are efficiently vented outside. This, in turn, helps heating appliances operate at their peak efficiency.
- Condensation Prevention: Chimney liners can help prevent condensation within the chimney. Condensation can lead to moisture-related chimney problems and reduced efficiency. A liner acts as a barrier, reducing the likelihood of moisture buildup.
- Energy Savings: With improved efficiency, your heating system will burn fuel more effectively, potentially reducing energy consumption and saving you money on heating bills.
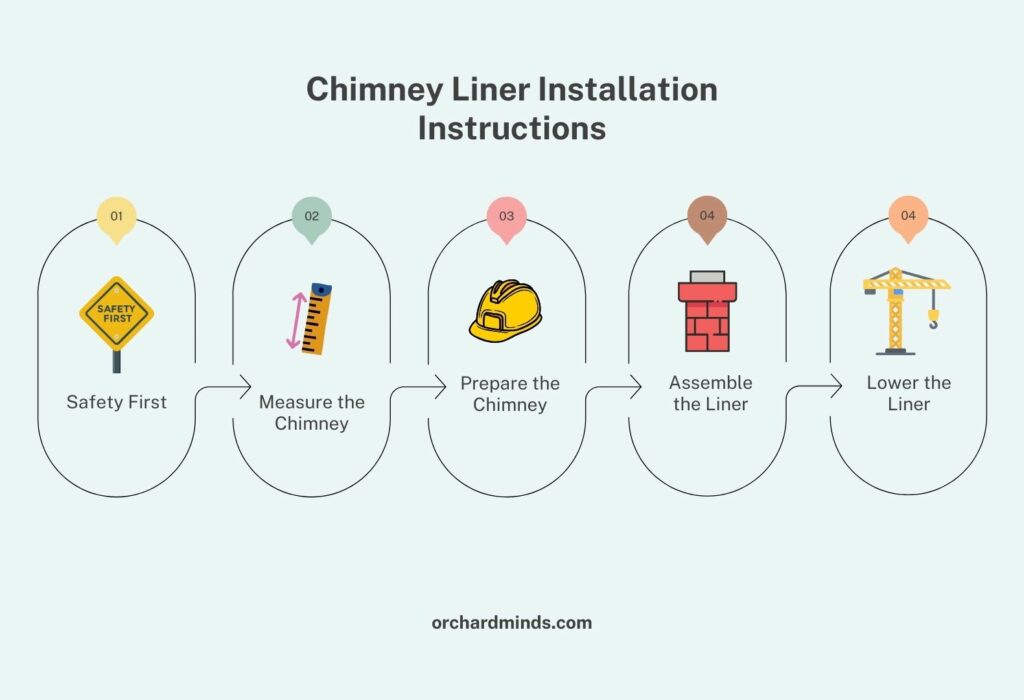
Chimney Liner Installation Instructions
Installing a chimney liner can be a complex process. Here’s a simplified step-by-step guide:
1. Safety First:
Safety is paramount when working on any home improvement project, especially one involving the chimney and heating systems. Here are some additional safety considerations:
- Protective Gear: Wear safety goggles, a dust mask, work gloves, and appropriate clothing to shield yourself from dust, debris, and sharp edges.
- Stable Working Environment: Ensure your work area is well-lit and the ladder (if used) is stable. Keep the workspace organized to prevent tripping hazards.
- Fire Safety: Have a fire extinguisher nearby, and be cautious of any flammable materials in the vicinity. Have a plan in place in case of emergencies.
2. Measure the Chimney:
Accurate measurements are essential for a successful chimney liner installation:
- Length: Measure the height of your chimney from the flue opening to the top. The liner should extend a few feet above the chimney top to prevent downdrafts and keep rainwater out.
- Diameter: Measure the inner diameter of your chimney flue. This measurement will help you select the correct size liner.
3. Prepare the Chimney:
Proper chimney preparation ensures a clean and secure environment for liner installation:
- Cleaning: Use a chimney brush and rods to clean out any creosote buildup, soot, or debris. This step is crucial to prevent blockages and maintain proper airflow.
- Inspection: Conduct a thorough examination of the chimney’s interior and exterior. Look for cracks, loose bricks, damaged mortar, or any other signs of deterioration. Address these issues before installing the liner.
- Obstructions: Remove any obstacles such as bird nests, leaves, or debris from the chimney flue.
4. Assemble the Liner:
Follow these steps to assemble the chimney liner kit correctly:
- Read Instructions: Start by carefully reading the manufacturer’s instructions that come with the liner kit. The instructions will guide you on assembling the liner components.
- Gather Materials: Lay out all the components and ensure you have all the necessary parts and tools before starting the assembly.
- Follow Step-by-Step: Assemble the liner following the step-by-step instructions provided. Pay close attention to the order of assembly and use any provided fasteners or connectors.
5. Lower the Liner:
When lowering the liner into the chimney, follow these guidelines:
- Center and Straight: Lower the liner carefully to ensure it’s centered within the chimney flue and straight. Avoid any twists or kinks in the liner.
- Assistance: If the chimney is tall or the liner is heavy, consider having a helper to guide the liner’s descent and ensure it doesn’t get caught by any obstructions.
6. Secure the Liner:
Properly securing the liner is crucial for its stability and safety:
- Tight Seal: Use hose clamps or approved fasteners to secure the liner to the chimney. Make sure the connections are tight and leak-free to prevent gas or smoke from escaping.
- Follow Guidelines: Refer to the liner kit’s instructions for specific guidance on securing the liner. Different liner materials and designs may have unique attachment methods.
These expanded instructions should provide you with a more comprehensive understanding of each step in the chimney liner installation process. Remember to consult the manufacturer’s guidelines for your specific liner kit and, if in doubt, consider seeking professional assistance to ensure a safe and effective installation.
How Much Does it Cost to Install a Chimney Liner?
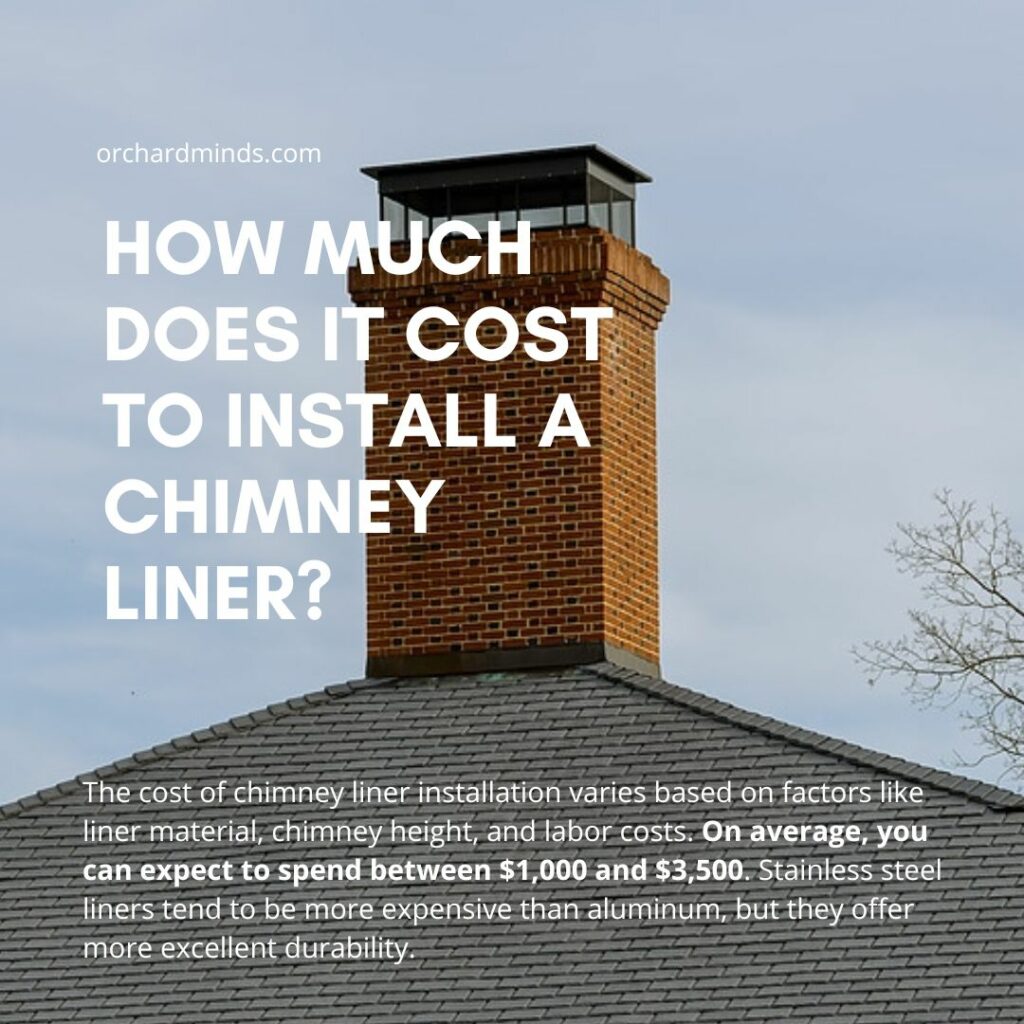
The cost of chimney liner installation varies based on factors like liner material, chimney height, and labor costs. On average, you can expect to spend between $1,000 and $3,500. Stainless steel liners tend to be more expensive than aluminum, but they offer more excellent durability.
Maintaining your chimney liner
Maintaining your chimney liner is essential for its longevity and efficiency:
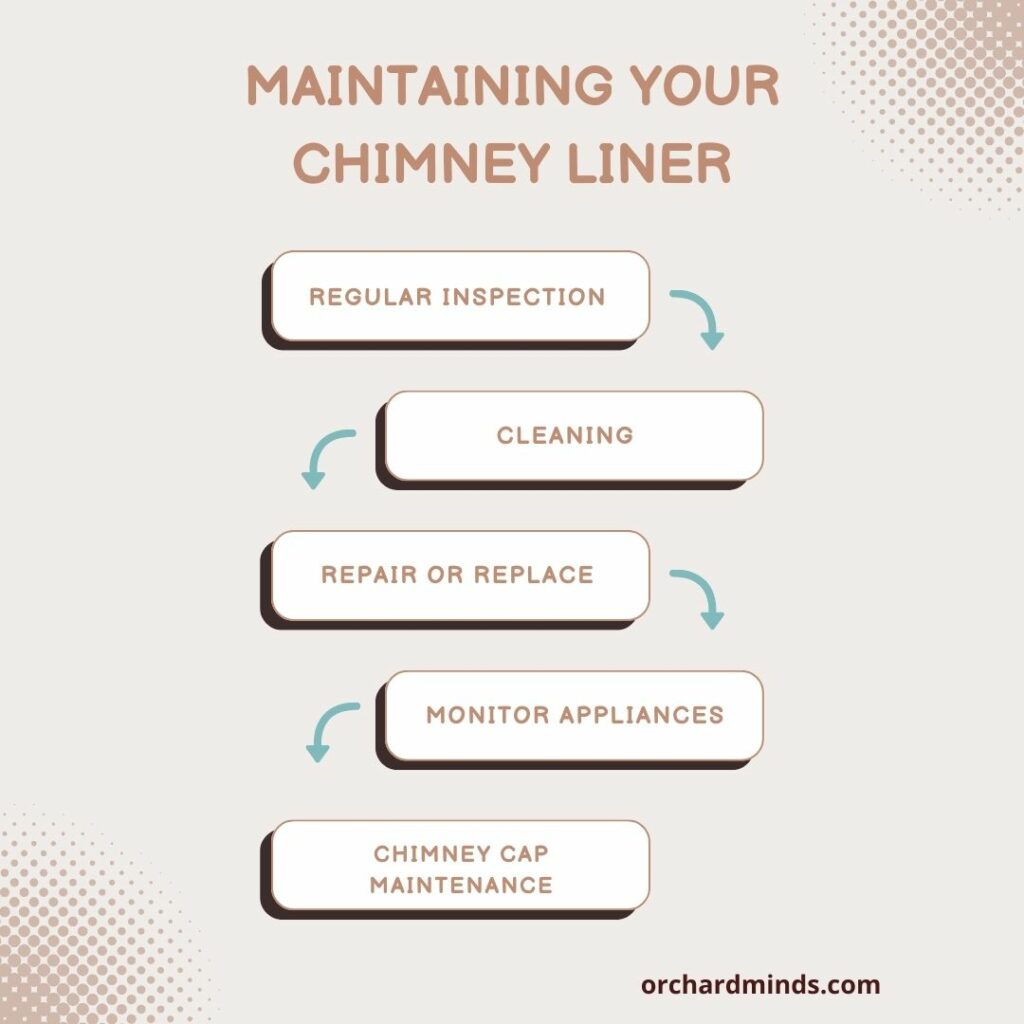
- Regular Inspection: Inspect your liner annually for any damage, corrosion, or blockages.
- Cleaning: Schedule professional chimney cleaning to remove creosote buildup.
- Repair or Replace: Address any liner issues promptly. Damaged liners should be repaired or replaced.
- Monitor Appliances: Keep an eye on your heating appliances for signs of malfunction.
- Chimney Cap Maintenance: Regularly inspect and clean your chimney cap to ensure it’s in good condition.


3 Comments