A well-structured and comprehensive house cleaning checklist is your ultimate roadmap to ensuring your clients’ homes are spotless and gleaming after each visit.
In this blog, we’ll walk you through a detailed house cleaning checklist, encompassing every nook and cranny, that will help you maintain consistency, exceed client expectations, and establish a stellar reputation for your cleaning business.
With this house cleaning checklist in hand, your cleaning business can systematically address every cleaning task, leaving no stone unturned and no dust bunny undiscovered.
This comprehensive house cleaning checklist is designed to cover every conceivable aspect of residential cleaning, empowering you to achieve excellence, boost customer satisfaction, and solidify your position in the competitive cleaning industry.
Preparation and Supplies
Gathering essential cleaning supplies:
Before you start cleaning business, gather all the necessary cleaning supplies.
This might include cleaning agents, brushes, sponges, microfiber cloths, mop, buckets, vacuum cleaners, trash bags, and gloves.
Having everything ready will help you work more efficiently.
Inspecting the property before cleaning
Before you dive into cleaning, do a quick walkthrough of the property.
Take note of areas needing special attention, such as heavily soiled surfaces, stains, or areas requiring delicate cleaning methods.
General Cleaning
Dusting and cobweb removal
Begin by dusting surfaces from top to bottom.
This includes shelves, furniture, window sills, and baseboards.
Use a microfiber cloth or a duster to capture dust instead of spreading it around. Don’t forget to remove any visible cobwebs from corners and ceilings.
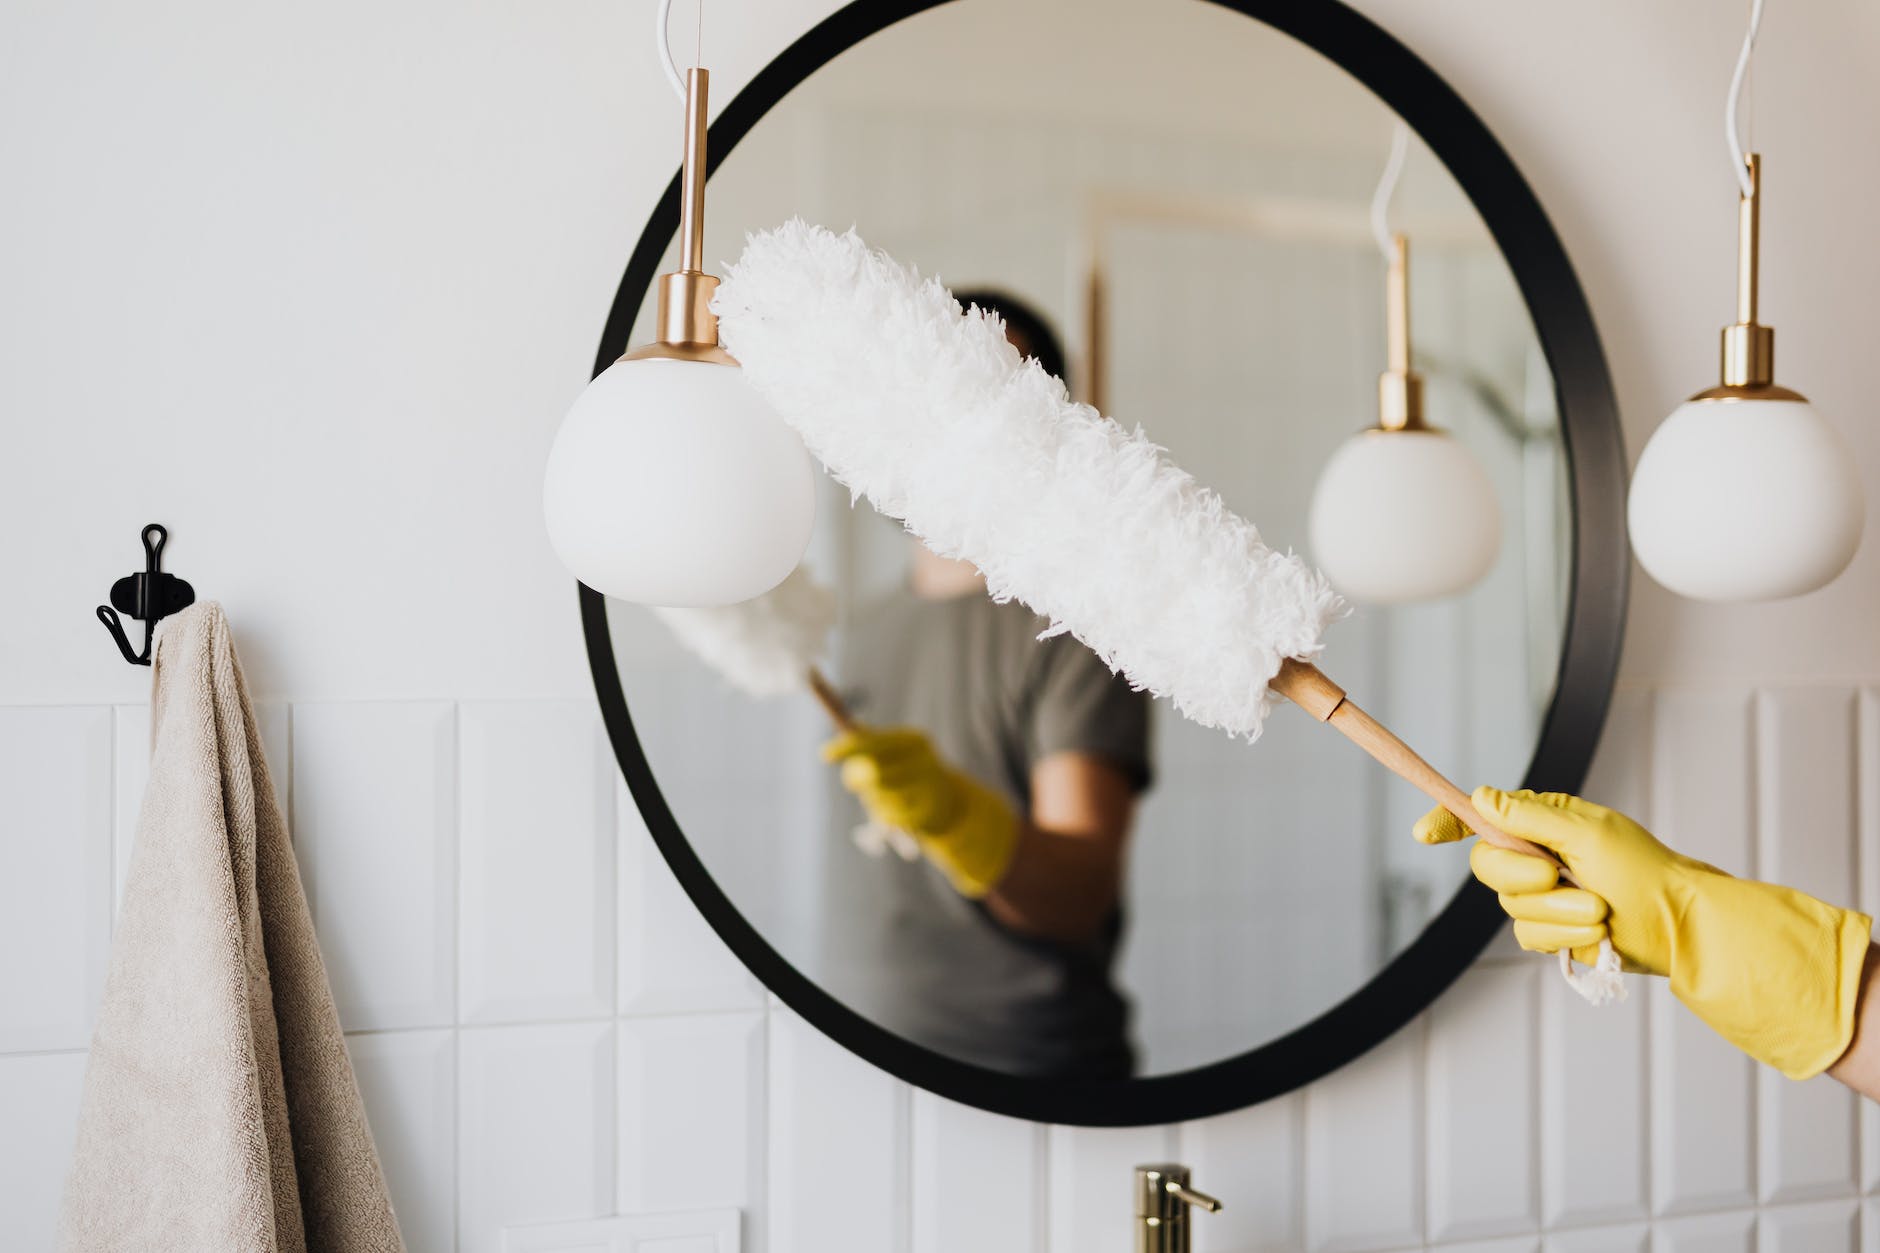
Cleaning mirrors and glass surfaces
Use a glass cleaner or a mixture of water and vinegar to clean mirrors and glass surfaces.
Wipe them down using a lint-free cloth or newspaper to prevent streaks.
Wiping down surfaces and countertops
Use appropriate cleaning agents for different surfaces (e.g., all-purpose cleaner for most surfaces, wood cleaner for wooden surfaces).
Wipe down tables, countertops, and other surfaces. Pay attention to high-touch areas like doorknobs and light switches.
Cleaning light fixtures and ceiling fans
Dust and clean light fixtures and ceiling fans using a damp cloth or a duster.
If necessary, you can remove light fixtures and wash them if they’re safe for this type of cleaning.
Kitchen Cleaning Checklist
Wipe down countertops and cabinets (start at the immediate right of the stove)
Start by clearing off any clutter from the countertops.
Then, use a damp cloth or a gentle kitchen cleaner to wipe down the countertops and cabinets.
Begin at the immediate right of the stove and work your way around the kitchen.
This way, you ensure you cover all surfaces without missing any spots.
Clean the face of appliances (refrigerator, microwave, dishwasher)
Use a mild cleaning solution and a soft cloth to wipe down the exterior surfaces of appliances like the refrigerator, microwave, and dishwasher.
Pay attention to any smudges, fingerprints, or food splatters.
Be careful not to use abrasive cleaners that could damage the appliance finishes.
Wipe down the stovetop.
If your stovetop has removable burner grates, knobs, and drip pans, remove them and set them aside.
Wipe down the stovetop surface with a damp cloth or a cleaner appropriate for your material.
For tough grease or burnt-on food, you might need a kitchen degreaser. After cleaning, replace the removable parts.
Clean the inside of the microwave.
Remove any removable parts, like the turntable, and wash them separately in the sink.
Wipe down the interior of the microwave with a damp cloth or a microwave-safe cleaning solution.
Pay attention to any food splatters or stains.
Avoid using abrasive scrubbers that could damage the microwave’s interior.
Soak stove drip pans and knobs in the sink.
Fill your sink with warm, soapy water and let the stove drip pans and knobs soak for a while.
This will help to loosen any grime and make them easier to clean.
After soaking, scrub them gently with a non-abrasive scrubber and rinse thoroughly.
Clean inside and around the sink
Remove any dishes or debris from the sink.
Use a kitchen cleaner or a mixture of baking soda and water to clean the sink’s interior and faucet.
Don’t forget to also clean around the edges of the sink and the area where it meets the countertop.
Sweep and mop the floor (go light on cleaning products in the water to avoid buildup)
Start by sweeping the floor to remove loose dirt and debris.
Then, mop the floor using a water solution and a mild kitchen floor cleaner.
Avoid using excessive cleaning solution, as it can leave a residue that attracts dirt over time.
Make sure to rinse the mop regularly while mopping the floor.
Additional Kitchen Cleaning Tips:
- Regular Maintenance: Try to do a light kitchen cleaning daily, such as wiping down surfaces and doing a quick sweep. This prevents buildup and makes deep cleaning less overwhelming.
- Organize Cabinets: Periodically go through your cabinets and pantry to remove expired or unused items. This keeps your kitchen tidy and makes it easier to find what you need.
- Preventative Measures: Use liners in your drawers and cabinets to make future cleanups easier. Consider using splatter screens when cooking to reduce the amount of grease that lands on surfaces.
- Deep Cleaning Schedule: Set aside time for deep cleaning tasks like cleaning the oven, defrosting the refrigerator, and cleaning the exhaust fan. These tasks don’t need to be done as frequently but contribute to maintaining a clean kitchen over the long term.
- Ventilation: Proper ventilation can help prevent odors and moisture buildup in the kitchen. Run exhaust fans while cooking to minimize lingering smells and reduce the chances of mold growth.
Bathroom Cleaning Checklist
Remove Rugs/Wastebaskets
Clear the bathroom floor by removing rugs and wastebaskets.

This step ensures you have clear access to all surfaces and makes cleaning the floors easier.
Remove Everything from the Tub/Shower
Remove shampoo bottles, soaps, and other items from the tub and shower area.
This will allow you to clean the surfaces thoroughly without hindrance.
Place Bath Mat in Tub/Shower
Put a bath mat or a towel in the tub or shower.
This step prevents slipping while cleaning and provides a soft surface for scrubbing.
Wet Tub/Shower Walls with Warm Water
Use warm water to wet the walls of the tub and shower. This helps to loosen dirt and grime, making it easier to clean.
Apply Tile and Grout Cleaner, and Allow to Sit
Apply a tile and grout cleaner to the tub and shower surfaces, including walls and floors.
Let the cleaner sit briefly to break down soap scum and grime.
Spray/Clean Everything with All-Purpose Cleaner (except toilet, vanity, shower/tub, and mirror)
Spray an all-purpose cleaner on countertops, sinks, and fixtures.
Avoid using it on the toilet, vanity, shower/tub, and mirrors, as specific cleaners might be needed for these surfaces.
Prepare a Bucket with Cleaner and Water for Floor
Mix about ¼ cup of all-purpose cleaner with water in a bucket.
This solution will be used for cleaning the bathroom floor later.
Scrub Tub/Shower Walls and Door
Stand on the bath mat and use a scrub brush to clean the tub and shower walls.
Pay attention to grout lines and any areas with accumulated grime. Scrub the shower door if applicable.
Apply Tile and Grout Cleaner to Tub/Shower Floor and Scrub
Focus on the tub or shower floor now. Apply the tile and grout cleaner and scrub the floor using a brush.
This step helps remove dirt and stains from the floor surface.
Clean Shower Rack/Soap Dishes
Clean any soap dishes or shower racks.
These areas accumulate soap residue and can benefit from a thorough cleaning.
Clean Shower Track
If your shower has a sliding door, don’t forget to clean the tracks, as they can collect dirt and debris over time.
Rinse Off Walls of the Tub/Shower and Dry
Use clean water to rinse off the walls of the tub and shower.
After rinsing, dry the surfaces with a cloth or towel to prevent water spots.
Vanity Cleaning
Spraying the sink and soap dish with a tile and grout cleaner. Scrub the sink using a non-abrasive scrub brush.
Use a grout brush around the faucet and drain to remove any buildup. Rinse the sink and your cleaning cloth.
Clean Vanity Countertop and Cabinet Fronts
Spray an all-purpose cleaner on the vanity countertop and wipe it down.
Also, wipe down the fronts of the cabinets.
Clean Mirror
Spray a glass cleaner on a soft cloth and use it to clean the mirror.
Buff the mirror until it’s clean and streak-free.
Shine Faucets
Use a cloth to shine and polish the faucets and any other metal fixtures in the bathroom.
Wash the Floor with Solution and Allow it to Dry.
Use the solution you prepared earlier to mop the bathroom floor.
Make sure to get into corners and edges.
Allow the floor to air dry.
Replace Rugs, Bath Mats, and Wastebaskets
Once the floor is dried, the rugs, bath mat, and wastebaskets are returned.
Bedroom Cleaning Checklist
Return Furniture
After vacuuming, return any furniture that you temporarily moved to vacuum underneath.
This could include chairs, diaper bins, small tables, or other items you shifted to clean the floors.
Make sure they are back in their original positions.
Make Bed
Making the bed instantly makes the room look neater and more put-together.
Straighten out the sheets, fluff the pillows, and arrange the comforter or duvet.

This simple step can significantly enhance the overall appearance of the room.
Straighten
Take a quick look around the room and straighten out any items that might be out of place.
This includes adjusting decorative pillows, aligning books on shelves, and ensuring that decorative items like vases or picture frames are correctly positioned.
Special Projects
This step involves tackling tasks that might not need to be done daily but can significantly contribute to a well-organized and clean bedroom. Examples include:
- Organize Sock Drawer: Take a moment to organize your sock drawer. Fold and pair up socks, discard any mismatched or worn-out ones, and neatly arrange them in the drawer.
- Fold Laundry and Put in Dresser: If you have clean laundry waiting to be put away, take the time to fold it and place it in the appropriate drawers. This prevents clothing from piling up and cluttering your space.
- Add a Mint on the Pillow: This slight touch can make your room feel like a hotel getaway. Placing a mint or a small treat on your pillow adds a touch of hospitality and can make your space feel more inviting.
More Bedroom Cleaning Tips:
- Dust Regularly: Dust tends to accumulate quickly, so make dusting a regular part of your cleaning routine. Dust surfaces like nightstands, dressers, shelves, and any decorative items.
- Vacuum or Sweep Under Furniture: While you’ve returned furniture to its original position, it’s a good idea to periodically move more significant pieces of furniture and vacuum or sweep underneath to remove hidden dust and debris.
- Wash Bed Linens: Ideally, wash your bed linens (sheets, pillowcases, and duvet covers) regularly to maintain a fresh and clean sleeping environment.
- Rotate Mattress: If applicable, rotate or flip your mattress to ensure even wear and extend its lifespan.
- Declutter Nightstands: Keep nightstands clutter-free by only having essential items like a lamp, an alarm clock, and maybe a book you’re reading.
- Keep Floors Clear: Avoid leaving items on the floor, making the room look messy. Use storage solutions like baskets or bins to keep things organized.
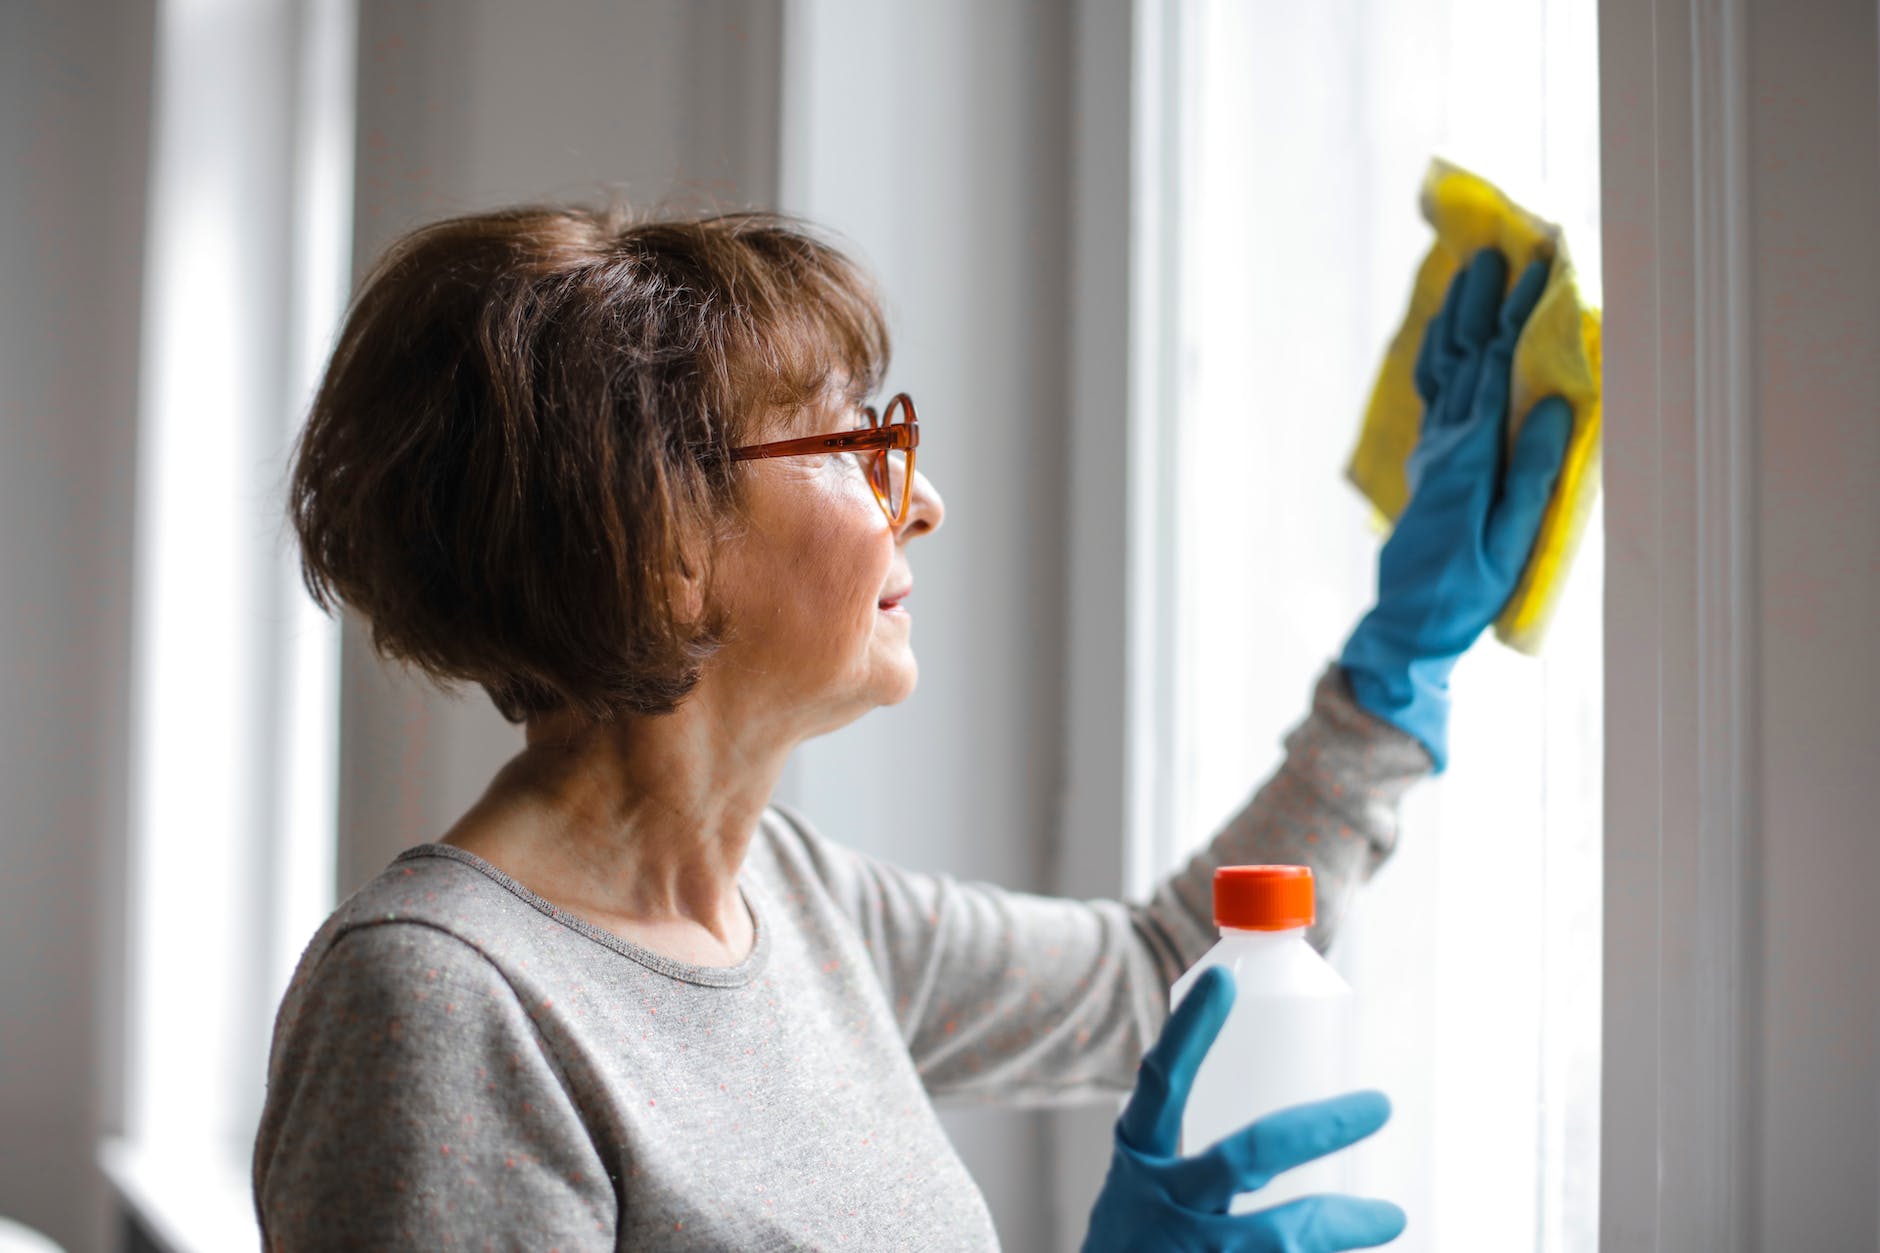
Window Cleaning
Streak-Free Glass Cleaner
- Select the Right Cleaner: Choose a high-quality, streak-free glass cleaner. It’s essential not to overspray, as the excess cleaner can lead to streaks and make the cleaning process less effective.
- Preparation: Ensure your windows are free of loose dirt or dust by gently dusting or brushing them.
- Application: Spray a moderate amount of glass cleaner onto the surface of the window. Be cautious not to oversaturate the glass, which can lead to streaks.
- Cleaning Technique: Wipe the glass using a lint-free microfiber cloth or a squeegee. Start from the top and work your way down in vertical or horizontal motions. This helps prevent streaks and ensures thorough cleaning.
Professional-Quality Squeegee for Large Windows
- Equipment: Use a professional-grade squeegee with a rubber blade for large windows. This tool is efficient in removing cleaning solutions and preventing streaks.
- Technique: Begin at the window’s top corner and pull the squeegee down in a straight line, wiping the blade with a lint-free cloth between each stroke. Overlap each stroke slightly to ensure complete coverage.
- Drying: After each pass with the squeegee, wipe its rubber blade to prevent streaks caused by residual water droplets.
Cleaning Window Screens
- Removal: Carefully remove window screens from their frames. Label screens if necessary to remember their positions.
- Scrubbing: Prepare a solution of an all-purpose cleaner mixed with warm water. Use a bristle brush to scrub both sides of each screen gently. Pay special attention to corners and crevices where dirt can accumulate.
- Rinsing: Rinse the screens thoroughly with a gentle stream of water from an outdoor hose. Ensure all cleaner residue is removed.
- Drying: After rinsing, shake excess water from the screens and let them air dry or pat them gently with a clean, dry cloth.
- Reinstallation: Carefully insert the screens back into their respective window frames once the screens are completely dry.
More Window Cleaning Tips
- Choosing Cleaning Days: Consider cleaning windows on cloudy days or when the sun is not shining directly on them. Direct sunlight can cause the cleaning solution to dry quickly and leave streaks.
- Preventing Overspray: Use a cloth or paper towel to shield nearby walls or frames to avoid over-spraying the cleaning solution onto surrounding surfaces.
- Using Vinegar Solution: Mix a solution of equal parts distilled white vinegar and water for an alternative to commercial glass cleaners. This can be effective for removing stubborn spots and streaks.
- Regular Maintenance: Establish a regular window cleaning schedule to prevent the buildup of dirt and grime. Frequent cleaning can make the process easier and more efficient.
What Should I Include in My House Cleaning Checklist for My Dry Cleaning Business?
When creating a house cleaning checklist for your dry cleaning business, there are several key items to include. First, outline the basic tasks like dusting, vacuuming, and mopping. Next, incorporate specific dry cleaning-related activities such as organizing garments, checking for stains, and ensuring proper storage. Additionally, don’t forget to include scheduling for pickups and deliveries, as well as quality control measures. By encompassing these aspects in your checklist, you can efficiently start a dry cleaning business.
Floor Care Checklists
Sweeping, Vacuuming, or Mopping All Floors
Depending on the type of flooring, start by removing dust, dirt, and debris from all surfaces.
For hardwood or tile floors, a dry microfiber mop can be effective for sweeping, while a vacuum with appropriate attachments is suitable for carpeted areas.
Mopping should be done with a solution compatible with the flooring material.
- Paying Attention to High-Traffic Areas: High-traffic areas accumulate more dirt and wear. These areas require more frequent cleaning and attention to ensure they remain presentable. Regular vacuuming and spot cleaning can help maintain the appearance of these sections.
- Cleaning Hardwood, Tile, and Carpeted Floors Appropriately: Different types of flooring require different cleaning methods. Hardwood floors should be cleaned with a wood-appropriate cleaner to prevent damage. Tile floors might need grout cleaning and sealing to keep them looking new. To remove embedded dirt, carpeted floors should undergo regular vacuuming and occasional deep cleaning.
Additional Areas
Cleaning Entryways and Mudrooms
Entryways and mudrooms are high-traffic zones that can accumulate dirt and moisture. Regular sweeping, vacuuming, and wiping down surfaces are crucial. A sturdy doormat can help reduce the amount of dirt entering the home.
Wiping Down Baseboards and Door Frames
Baseboards and door frames are often overlooked but can collect dust and grime. Wipe them down with a damp cloth to keep these areas clean and enhance the overall appearance of the space.
Cleaning Windows and Window Sills
Clean windows contribute to a brighter, more inviting atmosphere. Wipe down the glass and the sills to remove dirt, fingerprints, and accumulated debris. Consider using a streak-free window cleaner for a polished look.
Laundering and Changing Linens If Needed
If your cleaning service includes changing bed linens or towels, ensure you use fresh, clean linens for each visit. Launder the used linens and return them to their respective places in a tidy and organized manner.
Final Inspection and Quality Control
- Walkthrough to Ensure Thorough Cleaning: Before leaving the property, conduct a thorough walkthrough to ensure that all tasks on your checklist have been completed to a high standard. This step helps catch any missed spots or overlooked areas.
- Addressing Any Missed Spots or Areas: If you find any missed spots during the walkthrough, address them promptly. Correcting any oversights showcases your commitment to quality and leaves a lasting positive impression on your clients.
- Ensuring Proper Disposal of Cleaning Waste: Dispose of cleaning waste responsibly and following local regulations. This includes emptying vacuum cleaner bags, removing trash, and ensuring that used cleaning cloths or disposable items are appropriately discarded.
Customer Communication
- Requesting Client Feedback: Encourage your clients to provide feedback on the quality of your service. Constructive feedback can help you identify areas for improvement and reinforce your commitment to customer satisfaction.
- Addressing Any Concerns or Requests: Promptly address any concerns or requests raised by your clients. Effective communication and problem-solving demonstrate your dedication to meeting their needs.
- Providing a Personalized Touch to Each Visit: Every client’s home is unique, and a personalized touch can make your service stand out. Remember specific preferences, pay attention to detail, and consider small gestures like appealingly arranging decorative items.
Health and Safety
- Using Eco-Friendly and Non-Toxic Cleaning Products: Using environmentally friendly and non-toxic cleaning products is better for the environment and safer for your clients and your cleaning staff. It reduces the risk of allergic reactions and exposure to harmful chemicals.
- Properly Labeling and Storing Cleaning Chemicals: Ensure all cleaning chemicals are properly labeled, stored, and secured. This prevents accidental ingestion or misuse and maintains a safe environment in your client’s homes.
- Adhering to Safety Protocols and Guidelines: The following safety protocols are essential for your staff’s well-being and clients’ peace of mind. This includes using appropriate protective gear, understanding emergency procedures, and adhering to industry-specific safety guidelines.
Paying meticulous attention to these aspects of your house cleaning checklist can elevate the quality of your cleaning services, establish a loyal customer base, and build a reputation as a reliable and professional cleaning business.


3 comments