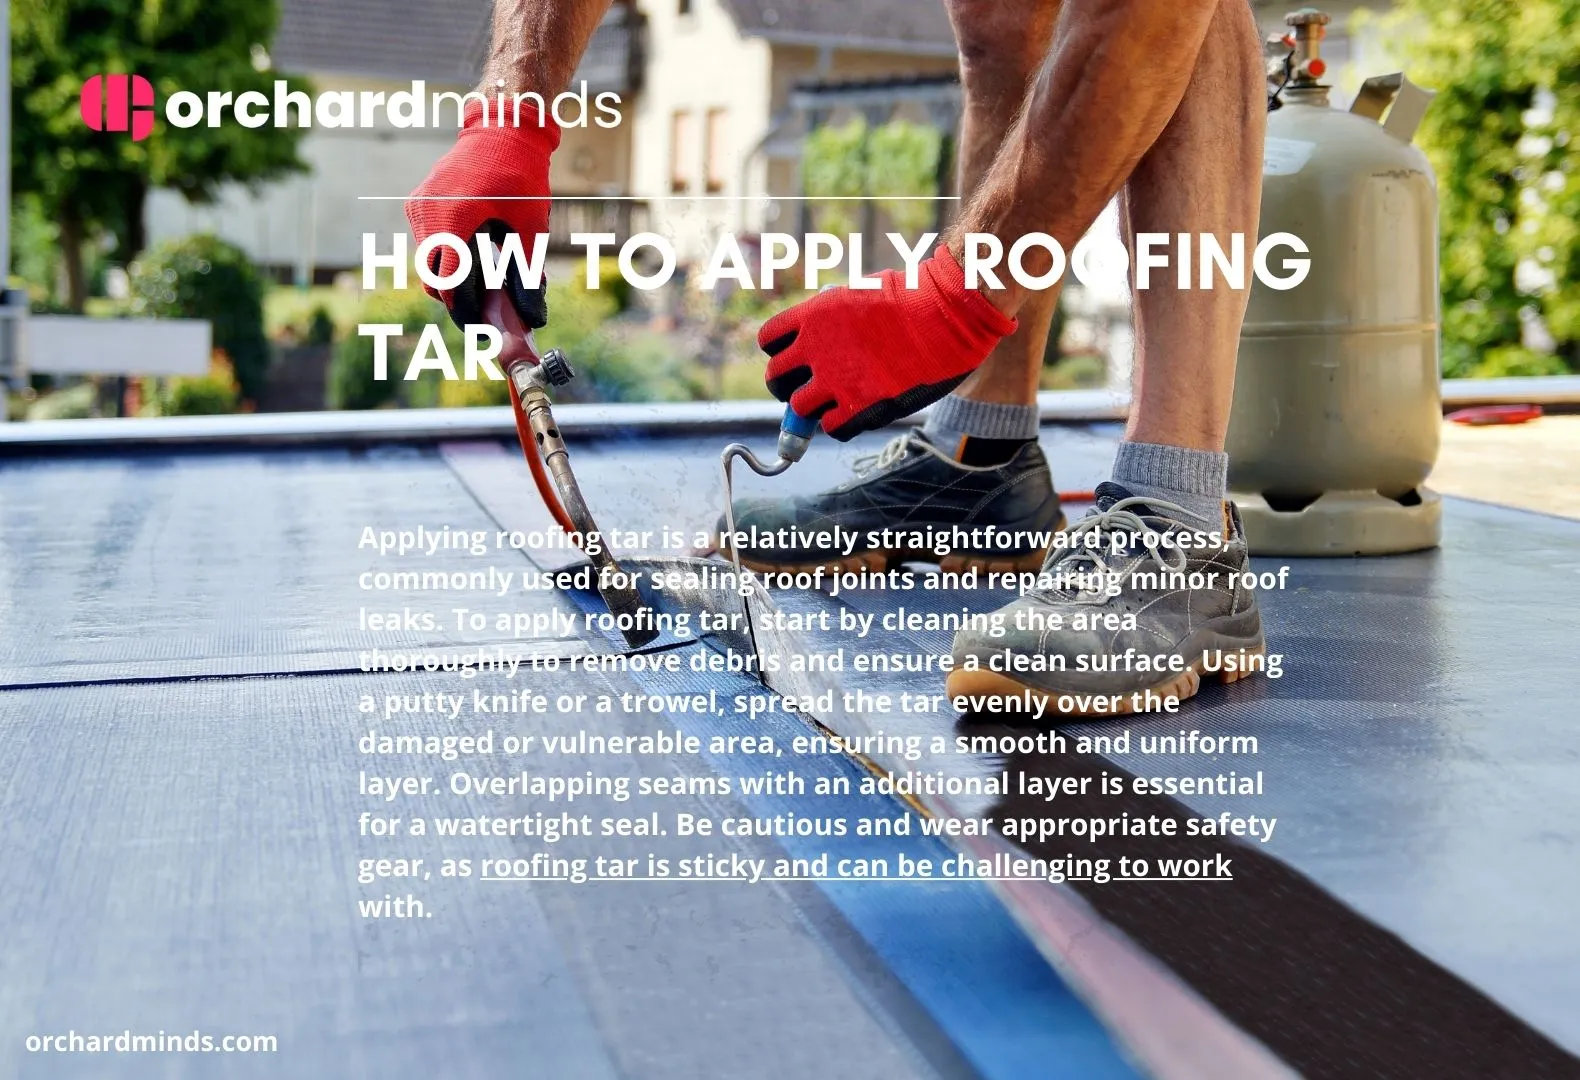
How to apply roofing tar ? Applying roofing tar is a relatively straightforward process, commonly used for sealing roof joints and repairing minor roof leaks. To apply roofing tar, start by cleaning the area thoroughly to remove debris and ensure a clean surface. Using a putty knife or a trowel, spread the tar evenly over the damaged or vulnerable area, ensuring a smooth and uniform layer. Overlapping seams with an additional layer is essential for a watertight seal. Be cautious and wear appropriate safety gear, as roofing tar is sticky and can be challenging to work with.
It’s important to follow manufacturer guidelines and use tar specifically designed for roofing applications, as it is formulated to withstand the elements and provide a long-lasting seal. Suppose you’re unsure about the process or dealing with a significant roofing issue. In that case, it’s advisable to consult a professional roofer for expert assistance.
Origins of Roofing Tar
Roofing tar has a long history dating back to ancient times. Its origins can be traced to the use of bitumen, a naturally occurring substance, for waterproofing and sealing various structures. Bitumen was used by early civilizations, such as the Sumerians and Babylonians, to seal and waterproof their buildings and infrastructure, including canals and water systems. The Egyptians also used bitumen in their construction projects, and it played a crucial role in ancient Egyptian mummification processes.
Bitumen’s properties as a waterproofing material were recognized and utilized by cultures throughout history, including the Phoenicians and the Romans, who employed bitumen in their engineering and construction projects. In ancient Rome, bitumen was used to waterproof cisterns and aqueducts, protecting the water supply from contamination.
As time progressed, the use of bitumen in construction and roofing continued to evolve. In the 19th century, the process of refining bitumen into roofing tar became more standardized and accessible, allowing for its widespread use in roofing applications. The development of the roofing industry in the United States in the late 19th and early 20th centuries further popularized the use of roofing tar as a waterproofing and sealing material. Today, roofing tar remains a vital component in the roofing industry, providing effective waterproofing and sealing solutions for a variety of roofing materials and structures.
How to Apply Roofing Tar
Step 1: Take measurements
Before applying roofing tar, measure the area you intend to work on accurately. This will help you determine the amount of tar needed and ensure you have enough material to cover the surface effectively.
Step 2: Put down a base layer
Prepare the surface by applying a base layer or primer, often consisting of asphalt primer or a compatible roofing adhesive. This base layer helps create a bond between the surface and the roofing tar, promoting better adhesion.
Step 3: Decide how the tar will be transported
Roofing tar can be heavy and challenging to work with, so it’s important to plan how you’ll transport it to the work area. Common methods include using buckets, a roofing tar kettle, or a specialized tar applicator.
Step 4: Apply tar carefully
Using a putty knife, trowel, or other appropriate tools, apply the roofing tar carefully and evenly over the desired area. Ensure that there are no gaps or voids in the application, as these can lead to leaks or inefficiencies.
Step 5: Be mindful of the heat
Roofing tar can become extremely hot during application, so exercise caution to avoid burns or injuries. It’s essential to work in appropriate weather conditions, not only to protect yourself but also to ensure the tar adheres properly. Follow safety guidelines and use protective gear as necessary when handling hot tar.
Pros and Cons of Using Roofing Tar
Using roofing tar has its advantages and disadvantages, and it’s important to weigh them carefully when considering its application.
Pros:
- Effective Waterproofing: Roofing tar is renowned for its waterproofing properties, making it highly effective at sealing and protecting roofs from water infiltration, which is crucial in preventing leaks and structural damage.
- Versatility: Roofing tar can be applied to a variety of roofing materials, such as asphalt shingles, metal, and built-up roofing systems, making it a versatile option for addressing various roofing issues.
- Cost-Effective: Compared to more extensive roof repairs or replacements, using roofing tar is often a cost-effective solution for minor repairs and maintenance, helping extend the life of a roof without a substantial financial investment.
- DIY-Friendly: Some minor roof repairs with roofing tar can be done by homeowners as do-it-yourself (DIY) projects, reducing the need for professional roofing services and their associated costs.
Cons:
- Limited Lifespan: Roofing tar is not a permanent solution and may require periodic reapplication, as it can deteriorate over time due to exposure to UV rays and weather conditions, resulting in maintenance costs.
- Messy and Sticky: Working with roofing tar can be messy and challenging due to its sticky nature. It may require specialized tools and safety precautions to handle properly.
- Temperature Sensitivity: Roofing tar application requires specific temperature conditions to be effective. Extreme heat or cold can affect its application and performance, limiting its suitability for certain climates.
- Not Suitable for All Repairs: Roofing tar is best suited for minor repairs and maintenance but may not be a suitable solution for extensive roof damage or problems requiring a full replacement.
In summary, roofing tar is a practical choice for addressing specific roofing issues, especially when cost-effectiveness and short-term solutions are preferred. However, its temporary nature and limited applicability to minor repairs should be considered when evaluating its pros and cons, and consulting a professional roofer for guidance on the best approach for your specific roofing needs is often advisable.
FAQs about How to apply roofing tar
- What is roofing tar used for? Roofing tar is primarily used for waterproofing and sealing roofs, repairing minor leaks, and extending the lifespan of roofing materials.
- Can I apply roofing tar myself? Yes, you can apply roofing tar for minor repairs as a do-it-yourself (DIY) project. However, it’s essential to follow safety guidelines, use protective gear, and be mindful of temperature conditions during application.
- What tools do I need to apply roofing tar? Essential tools include a putty knife or trowel for application, a roofing tar kettle or bucket for transportation, and a measuring tape. Safety gear such as gloves and eye protection are also recommended.
- What’s the best weather for applying roofing tar? Roofing tar should be applied during moderate weather conditions. Avoid extremely hot or cold days, as temperature sensitivity can affect the application and performance of the tar.
- How do I prepare the surface before applying roofing tar? Start by cleaning the surface thoroughly to remove debris and ensure a clean and dry area. Applying a base layer or primer, such as asphalt primer or roofing adhesive, can help create a stronger bond with the tar.
- How long does roofing tar last? The lifespan of roofing tar can vary depending on factors like weather exposure and the quality of the material. It’s not a permanent solution and may require reapplication over time.
- Can roofing tar be used on any roofing material? Roofing tar can be applied to various roofing materials, including asphalt shingles, metal, and built-up roofing systems. However, it’s essential to use the appropriate tar for the specific material.
- Are there safety precautions I should take when working with roofing tar? Yes, safety is crucial when working with roofing tar. Wear appropriate protective gear, including gloves and eye protection, and be cautious of the hot nature of the material during application.
- Can roofing tar be used for extensive roof repairs or replacements? Roofing tar is best suited for minor repairs and maintenance. Extensive roof damage or the need for a full replacement may require professional assessment and solutions.
- What are some common mistakes to avoid when applying roofing tar? Common mistakes include applying tar in extreme weather conditions, using the wrong type of tar for the roofing material, and not properly cleaning and preparing the surface before application. Following best practices is essential for a successful application.