How to remove paint from copper gutters ? Removing paint from copper gutters requires careful consideration to preserve the integrity of the metal surface. Start by identifying the most suitable method for your specific situation. Chemical paint strippers, mechanical methods like sanding or scraping, or a combination of both may be employed. Begin by preparing the copper surface—clean the gutters and ensure they are dry. If using a chemical stripper, apply it according to the product’s instructions, allowing it to soften the paint.
Mechanical methods involve gently sanding or scraping the paint off. Be cautious not to scratch or damage the copper during this process. After paint removal, thoroughly clean the gutters and consider applying a protective coating to prevent future corrosion. Always wear appropriate safety gear, including gloves and goggles, and follow product instructions carefully to ensure a successful and safe paint removal process for copper gutters.
Selecting the Right Paint Removal Methods for Copper Gutters
Choosing the appropriate paint removal method for copper gutters is crucial to ensure effective stripping without compromising the integrity of the metal. Two primary methods are commonly employed: chemical paint stripping and mechanical methods. Chemical paint stripping involves the use of paint strippers or solvents specifically designed for metal surfaces. These chemicals break down the paint, making it easier to remove. It’s essential to follow product instructions carefully, wear protective gear, and work in a well-ventilated area.
Mechanical methods, on the other hand, include using tools like scrapers, wire brushes, or sandpaper to remove the paint physically. This method requires more manual effort but provides better control over the process. The choice between these methods often depends on factors such as the type of paint, the extent of coverage, and personal preferences. It’s advisable to start with the least abrasive method and escalate as needed. Additionally, before undertaking any paint removal, it’s crucial to assess the condition of the copper gutters, ensuring that the chosen method aligns with the metal’s durability and doesn’t cause unintended damage.
Essential Tools and Materials for Stripping Paint from Copper
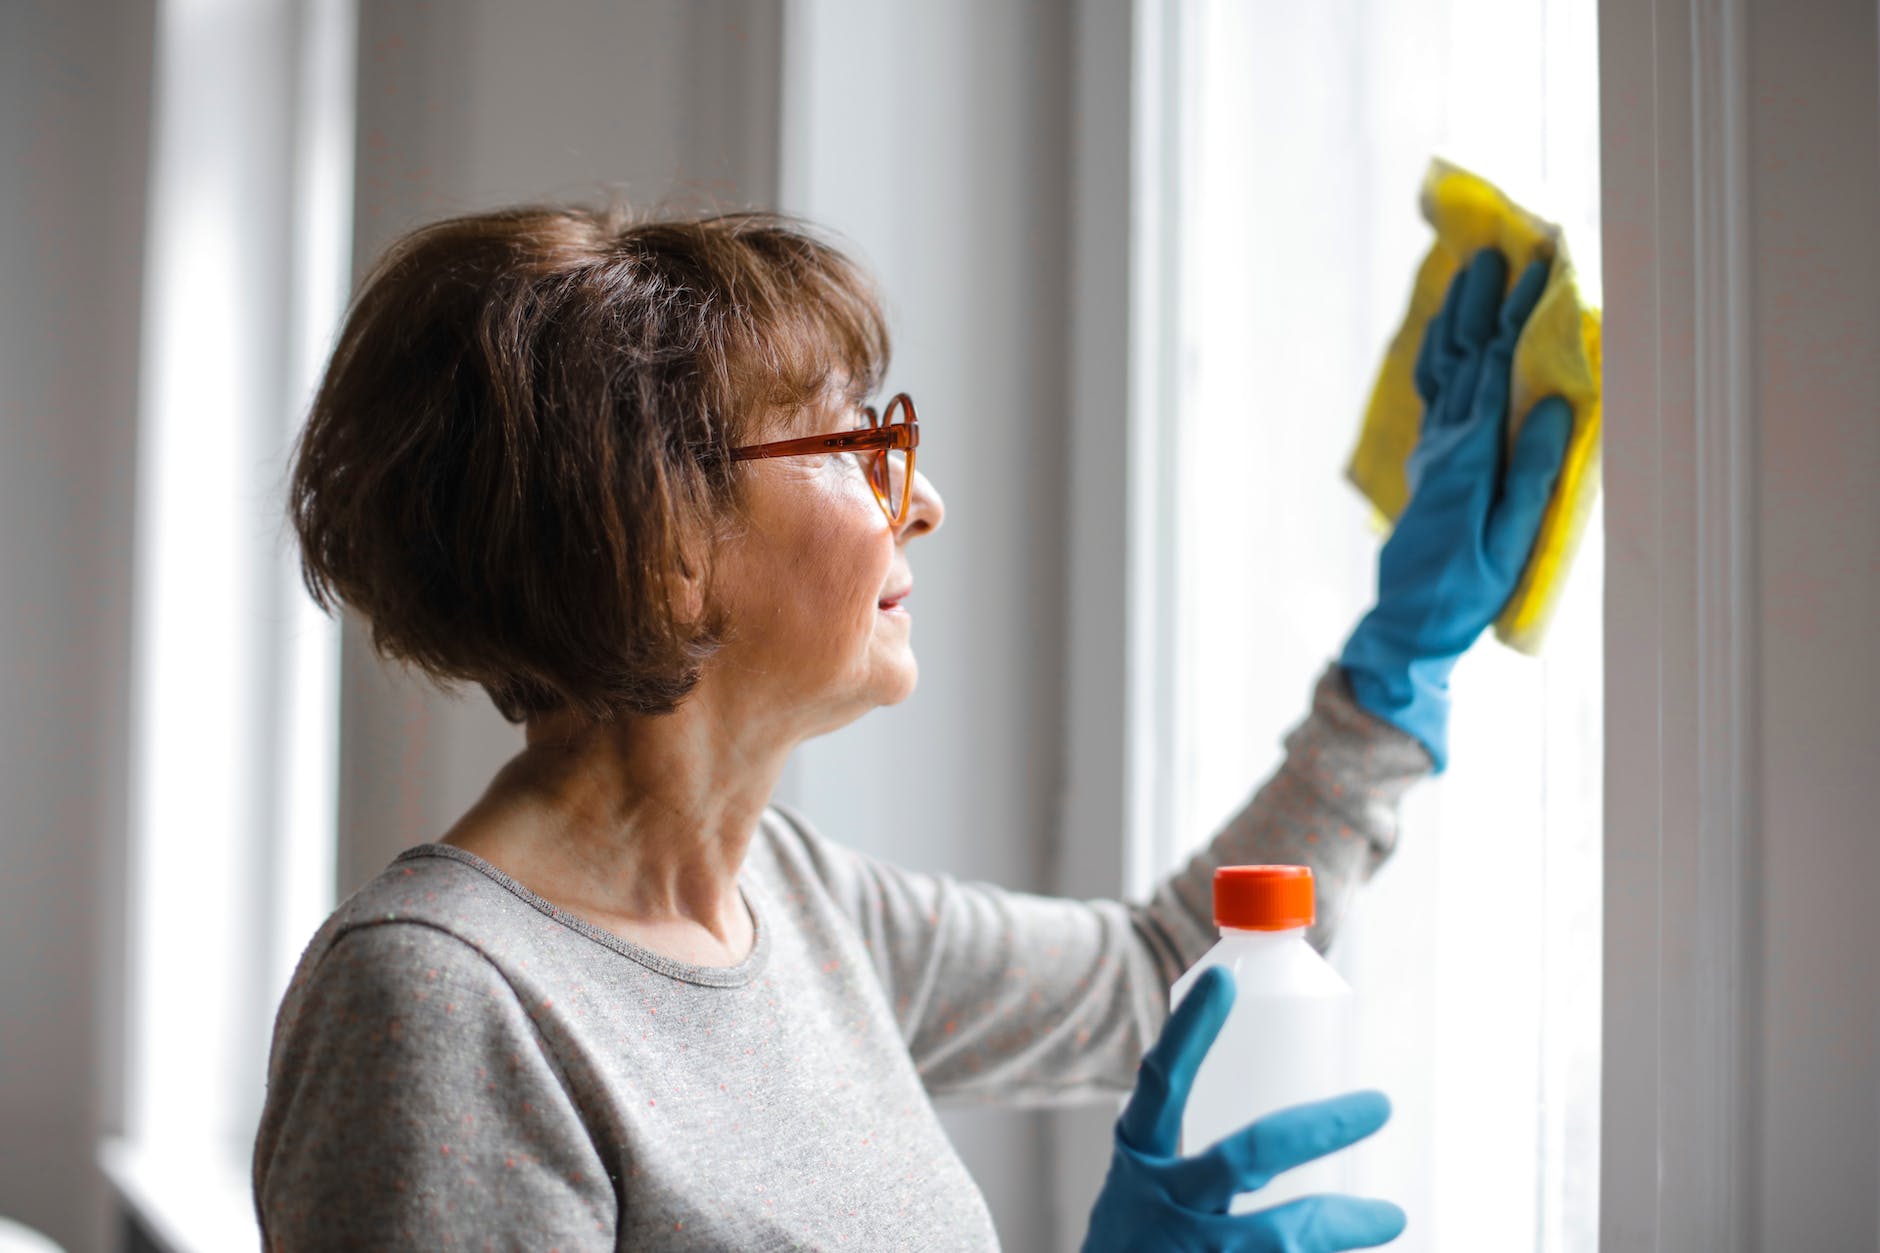
Stripping paint from copper gutters requires a specific set of tools and materials to ensure an effective and careful process. Essential tools include a paint scraper or putty knife, which aids in the physical removal of loose or peeling paint layers. For a more thorough approach, a wire brush or abrasive pad can be used to scrub away stubborn paint residues. Sandpaper of varying grits, ranging from coarse to fine, is crucial for smoothing the copper surface after paint removal. Additionally, a heat gun or infrared paint stripper proves useful for softening and loosening old paint layers, facilitating their removal.
Chemical paint strippers, specifically formulated for metal surfaces, can be employed for more stubborn or multiple layers of paint. Safety equipment such as gloves, safety glasses, and a respirator is essential to protect against chemical exposure and airborne particles during the paint removal process. Lastly, a drop cloth or plastic sheeting is recommended to catch paint chips and debris, preventing them from scattering in the surrounding area. Assembling these tools and materials before starting the paint-stripping process ensures a systematic and efficient approach to restoring the copper gutters to their original state.
Preparing Copper Gutters for Paint Removal: Steps to Take
Preparing copper gutters for paint removal is a crucial step that sets the foundation for a successful restoration process. Here are the key steps to take:
- Assessment and Inspection: Begin by thoroughly assessing the condition of the copper gutters. Identify areas with peeling, chipping, or multiple layers of paint. This evaluation helps in planning the most effective paint removal methods.
- Cleaning the Surface: Before starting the paint removal process, clean the copper gutters to remove any loose dirt, debris, or contaminants. A mixture of mild detergent and water, along with a soft brush or sponge, can be used for this purpose.
- Protection of Surrounding Areas: To prevent paint chips and debris from scattering, protect the surrounding areas with a drop cloth or plastic sheeting. This ensures a contained and organized work environment.
- Safety Precautions: Equip yourself with the necessary safety gear, including gloves, safety glasses, and, if using chemical paint strippers, a respirator. Ensure proper ventilation in the work area.
- Choose the Appropriate Paint Removal Method: Depending on the type and condition of the paint on the copper gutters, choose the most suitable paint removal method. Options include using a paint scraper, wire brush, sandpaper, heat gun, or chemical paint stripper.
- If you are planning for a re-painting, ( add the link to how to paint copper gutters )
- Testing in a Small Area: Before applying the chosen paint removal method to the entire surface, perform a small test in an inconspicuous area. This ensures that the method is effective without causing damage to the copper.
- Application of Paint Remover: If using a chemical paint stripper, follow the manufacturer’s instructions for application. Allow the stripper to penetrate the paint layers, making them easier to remove.
- Scraping or Sanding: After the paint has softened or loosened, use a paint scraper, wire brush, or sandpaper to remove the paint layers. Work in small sections, ensuring thorough removal.
- Clean and Neutralize: Once the paint is removed, clean the copper surface to eliminate any remaining residue from the paint remover. If a chemical stripper was used, neutralize the surface according to the product’s instructions.
- Final Cleaning and Inspection: Complete the process by cleaning the copper gutters again with mild detergent and water. Inspect the surface to ensure all paint has been successfully removed and assess if any further cleaning or touch-ups are needed.
By diligently following these steps, homeowners can effectively prepare copper gutters for paint removal, laying the groundwork for a successful restoration and ensuring the longevity and aesthetic appeal of the copper surface.
Chemical Paint Stripping vs. Mechanical Methods for Copper Gutters
Choosing between chemical paint stripping and mechanical methods for copper gutters depends on various factors, including the type of paint, the extent of layers, and personal preferences.
Chemical Paint Stripping: Chemical paint strippers are formulated to break down and soften the paint, making it easier to remove. They are particularly effective for multiple layers of paint or intricate details on copper gutters. To use a chemical paint stripper, apply the product according to the manufacturer’s instructions, allowing it to sit and penetrate the paint layers. Afterward, the softened paint can be scraped away. However, it’s crucial to take safety precautions, such as wearing protective gear and working in a well-ventilated area.
Mechanical Methods: Mechanical methods involve physically removing paint from copper gutters using tools like paint scrapers, wire brushes, sandpaper, or abrasive pads. This approach is effective for single layers of paint or when dealing with smaller areas. Mechanical methods provide more control over the process, allowing the person removing the paint to feel the resistance and adjust accordingly. While these methods can be more labor-intensive, they are often preferred for their precision, especially when working on detailed or intricate surfaces.
Ultimately, the choice between chemical paint stripping and mechanical methods depends on the specific characteristics of the paint on the copper gutters and the desired level of control and precision in the restoration process. Some individuals may choose a combination of both methods, starting with a chemical stripper to soften the paint and then using mechanical tools for the finer details. Always test the chosen method in a small, inconspicuous area before applying it to the entire surface to ensure its effectiveness without causing damage to the copper.
Post-Removal Care: Protecting and Enhancing Copper Surfaces
Post-removal care is crucial to protect and enhance the copper surfaces of gutters after paint removal. Here are key steps to ensure the longevity and aesthetic appeal of the restored copper:
- Cleaning Residue: After paint removal, thoroughly clean the copper surface to eliminate any remaining residue from the paint removal process. Use a mild detergent and water solution, along with a soft brush or sponge, to remove any leftover debris.
- Neutralizing Chemical Residues: If a chemical paint stripper was used, follow the manufacturer’s instructions to neutralize any remaining residues. This typically involves using a neutralizing agent provided by the stripper to ensure that the chemicals do not react with the copper over time.
- Rinsing and Drying: Rinse the copper gutters with clean water to remove cleaning solutions and residues. Allow the gutters to dry thoroughly before proceeding with additional steps.
- Surface Polishing (Optional): Some individuals may choose to polish the copper surface for a shiny and reflective finish. Copper polishes or specially formulated solutions can be applied according to the product instructions to enhance the aesthetic appeal of the gutters.
- Application of Protectant or Sealant: Consider applying a protectant or sealant to the copper surface to guard against oxidation and the development of a patina. This step is particularly relevant for those who wish to maintain the shiny appearance of the copper.
- Regular Maintenance: To prolong the enhanced look of the copper gutters, establish a routine maintenance schedule. Periodically clean the gutters to remove debris, and if a protective sealant was applied, consider reapplying it as needed to maintain its effectiveness.
- Monitoring for Patina Development: Keep an eye on the copper gutters over time to monitor the natural development of a patina. Some homeowners appreciate the evolving colors, while others may choose to intervene with protective coatings to maintain a specific appearance.
By following these post-removal care steps, homeowners can ensure that their copper gutters not only retain their aesthetic appeal but also remain well-protected against environmental elements, contributing to the long-term durability of the copper surface.